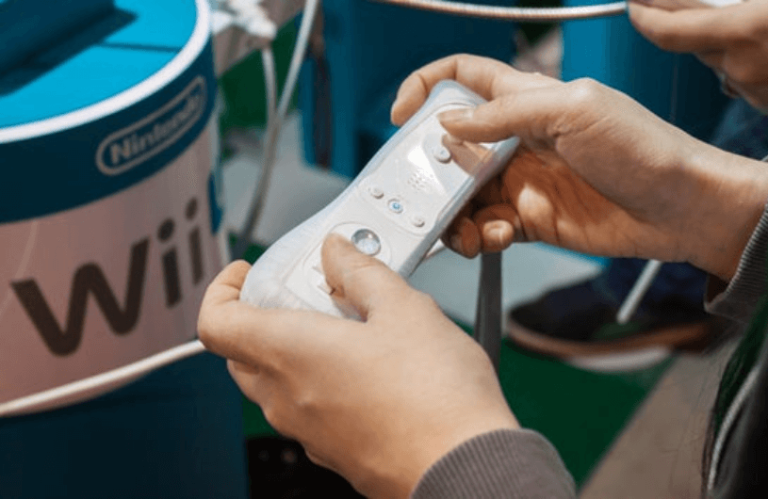
Wii was the first gaming console by Nintendo that supported many popular games, like Super Mario, Just Dance, Metroid Prime: Trilogy, and more. Meanwhile, if you find the old Wii console out of your cupboard, you can connect it to your Roku TV to play nostalgic games and bring back your childhood memories.
Here are the guidelines that you want to follow when connecting the Wii gaming console to your Roku TV.
How to Connect Wii to Roku TV With AV Cable
- After unpacking the Nintendo Wii and arranging all of the components, you can start by connecting the Wii AV cable to the backport of the gaming console.
- Then, look out for the RCA pins on the Wii AV cable and connect them to the RCA ports of the Roku device.

- Upon completing this connection, you have to switch on your Roku TV and gaming console.
- From the home page, you might notice that the Input tile is present on the right side of the screen.
- If you cannot find the Input tile, navigate to Settings and press TV Inputs.
- After that, you must change the input on your Roku TV to AV.
Tip! Besides the AV/RCA cable, you can use a Component cable to connect the Wii console to Roku TV.
How to Connect the Wii to Roku TV Without AV Cable
Besides the AV cables, you can use the HDMI adapter to connect your Wii console to your TV.

- Fetch an HDMI cord and connect one end to the HDMI adapter and the other end to the HDMI port of your Roku TV.
- After that, connect the other end of the HDMI adapter (AV end) to the Wii console.
- Then, power on your Roku TV and navigate to Settings.
- Further, alter the input of your Roku TV to the HDMI.
- It takes you to the home screen of the Wii, wherein you will have to insert the gaming disc to start playing the games on your TV.
How to Enhance Gaming Experience With Wii on Roku
After connecting Wii to your device, you’re free to access your favorite games. However, if you wish to enhance its gameplay on your Roku TV, then you can optimize your Roku with some selective settings. Let’s see them in the following.
- Enable HDR: Turn on HDR on Roku to view the brightest and darkest images of your gameplay on Roku.
- Game Mode: Enable the game mode on Roku TV to reduce input lag and allow smoother gameplay.
- Replace HDMI Cable: Purchase a Wii to HDMI converter from Amazon to experience faster data transfer and smooth gaming visuals.
- Optimize Graphics Settings: Open Wii Settings and change the resolution to the max. As Roku TV models are compatible with UHD and 4K resolution, you can easily run high-end resolution games on Wii.
You can easily optimize Roku TV and Wii by following the above settings for better gaming setup. Upon playing the games, if you face any issues in the connection procedure, reach out to my community hub and clarify your doubts.
