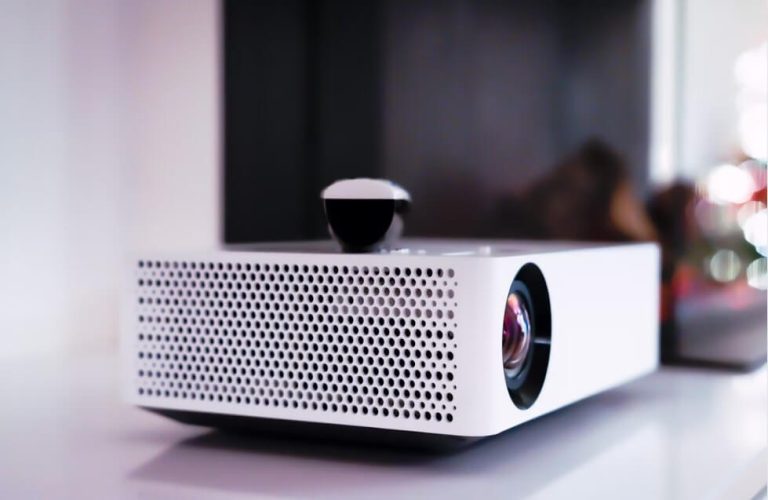
To enhance your streaming experience to a home theatre level, you can connect a projector to your Roku TV. To do that, you need the respective AV cable for wired connection and an HDMI extender kit for wireless pairing. After a successful connection, you can enjoy playing games or streaming movies on a large screen.
This section unwraps the details that you have to follow to set up the projector on your Roku TV.
How to Connect the Projector to Roku TV With Cables
Usually, this connection of the projector to the Roku TV is completely a no-sweat process, where the cables will make the work much easier for you. Also, after the connection, don’t forget to change the input on your Roku TV where the A/V cables are connected.
HDMI Cable
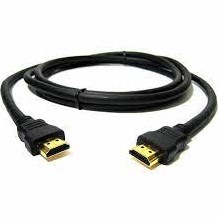
Initially, you can try connecting the projector with the Roku TV via the HDMI cables. Take a well-insulated HDMI cable and connect one end of the Roku TV’s port and the other to the Projector’s HDMI port. Upon completing the connection, you have to turn on both devices and then navigate to Roku settings and alter the input to project the screen.
VGA Cable
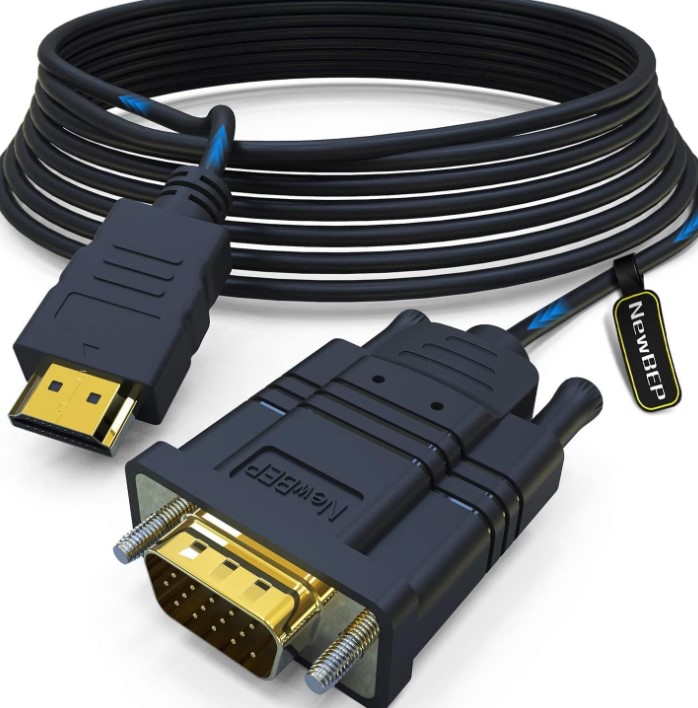
VGA Cable is most particularly used to transmit only video signals. As for the audio, you have to connect external speakers separately to the projector to continue the flow. Connect the VGA Cable’s one end to the Roku device and the other end to the projector. Then, you have to proceed with the same steps in the HDMI cable to watch the desired channel on the projected screen.
DVI-D Cable
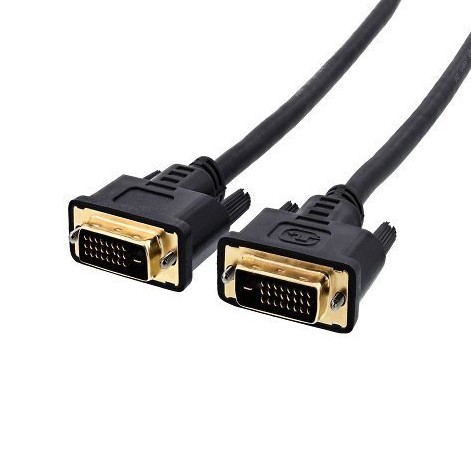
If your projector is built with the DVI-D port, then you have only the option to use the DVI-D cable. Normally, a DVI-D cable has an adapter and an HDMI cable side. So, connect the adapter side to the projector’s DVI-D port and the HDMI side to the Roku device. After this, slight modifications need to be made to the Roku settings to continue watching on a bigger screen.
Component Cable
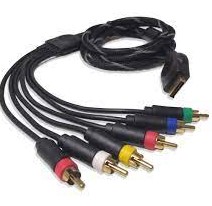
In case you own a projector with the component port, then use the component cable. Since it has both the adapter and the HDMI cable side, you can connect them firmly to start watching the shows on the projected screen.
RCA Cable
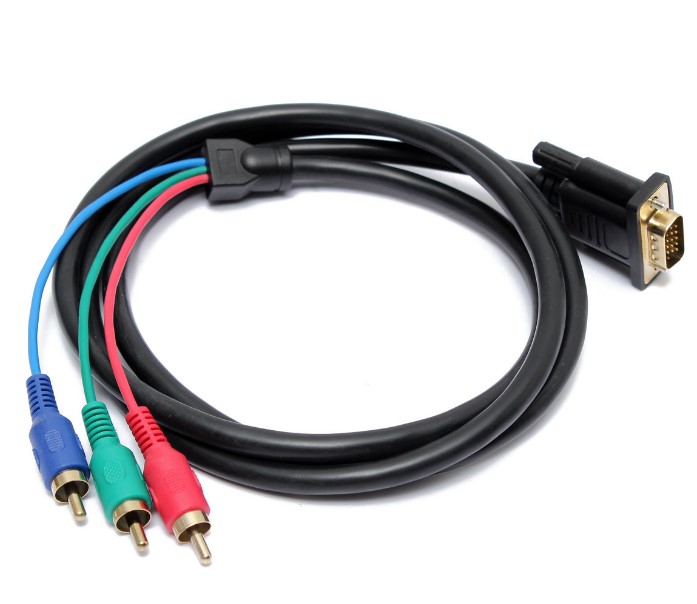
Some projectors are equipped with RCA ports of different colors like Red, White, and Yellow. If your projector is in that model, then use the RCA cable to connect the adapter side to the projector and the cable side to the Roku TV. Safely input the cable based on the color codes.
How to Connect the Projector to Roku TV Wirelessly
With the help of a wireless HDMI extender kit, you can connect the projector to your Roku TV wirelessly.
- At first, you have to connect one end of the HDMI cable to the Roku TV and the other end should be connected to the input port of the audio extractor.
- You can directly attach the Roku Stick to the audio extractor ports.
- The output port of the audio extractor should be connected to the wireless HDMI extender kit with the HDMI cable.
- In the same way, the HDMI extender kit’s other end should be connected to the projector.
- After that, turn on your Roku and play your desired content. Your video starts to project on the large screen after this connection without any interruption.
These are possible methods that you must know to connect a projector to your Roku TV. After the successful connection, you can stream your favorite program on a bigger screen. Furthermore, you can visit my community forum to get clarification about the queries related to Roku and to take part in discussions.
