Did you find an old CD/DVD and looking for ways to access the content? If so, use the nostalgic DVD player. However, if you own a Roku TV, you can use HDMI cable and AV cable to connect your DVD player. Upon a successful connection, switch the input on Roku and stream your desired content hassle-free.
Connecting DVD Player to a Roku TV with an HDMI Cable
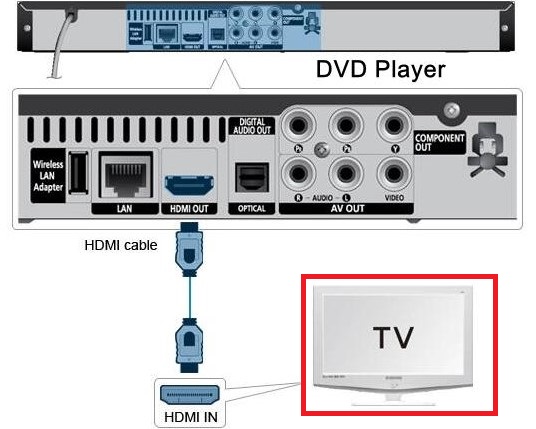
Using an HDMI cable is the most straightforward method to connect your DVD player to Roku TV.
1. Turn off your Roku TV and DVD player.
2. Fetch an HDMI cable and connect its one end to either one of the HDMI IN ports present at the back side of the Roku.
3. Connect the other end to the HDMI output jack of the DVD player.

4. After that, turn on the Roku TV and DVD player.
5. Now, navigate to the home page and change the input of your TV to the HDMI, where the DVD player is connected.
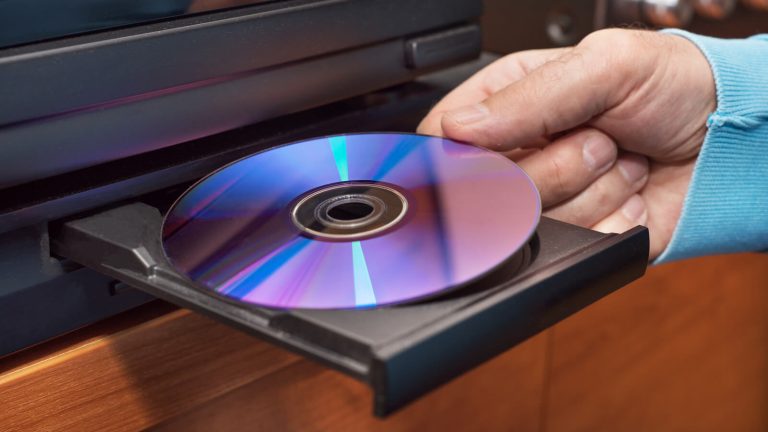
Finally, you can insert the CD or DVD into your DVD player and view the available content on your Roku TV.
Connecting a DVD Player to a Roku TV with an AV
Besides the HDMI cable, you can also use the AV cable to connect the DVD Player and the Roku TV. This AV cable is more like an HDMI cable that helps transmit the audio and video signals properly.
1. Unplug the Roku TV from the power cord to initiate the connection of the DVD player.
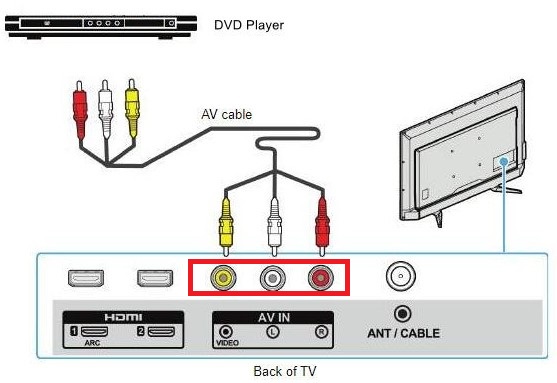
2. Connect one end of the AV cable to the AV jacks of the DVD Player. Properly connect it based on the color code.
3. The other end should be connected to the AV Jacks of the Roku TV.

4. Connect both devices to the power cord and make sure to turn on them.
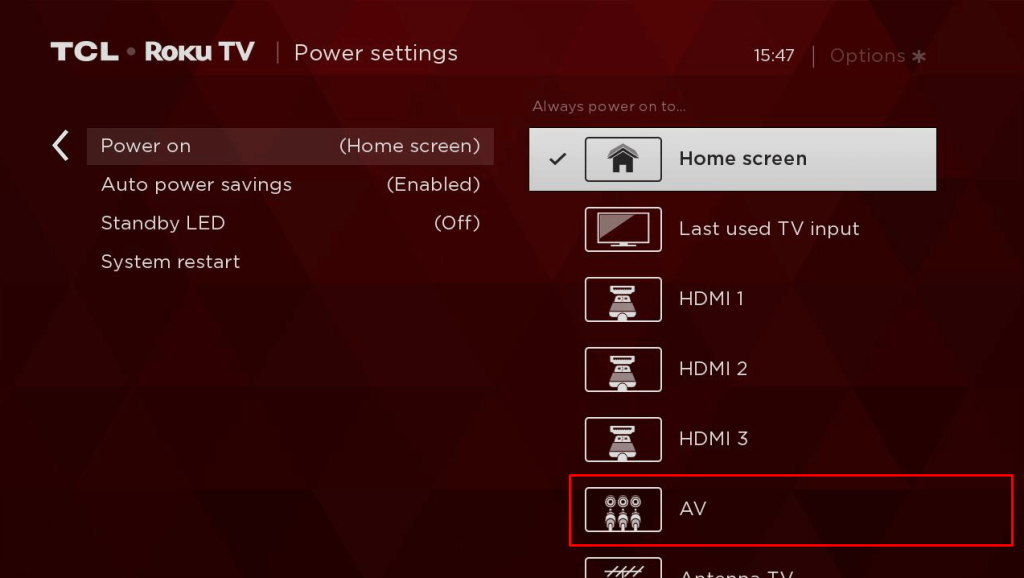
5. Navigate to the home page of the Roku and select the AV tile shown on the screen.

6. This connects your Roku TV and the DVD Player so that you can enjoy streaming movies and audio files on the big screen.
These are the two possible methods to connect your DVD player to Roku TV. Meanwhile, if your Roku froze out while connecting the external devices, then reach out to my community forum and gain valuable insights.
